using System; using System.Collections.Generic; using System.IO; using System.Linq; using System.Text; namespace ImageRect { public class EncodingType { /// <summary> /// 给定文件的路径,读取文件的二进制数据,判断文件的编码类型 /// </summary> /// <param name=“FILE_NAME“>…
第一种:第三方NPOI控件: 引用之后,代码如下 string text = ""; XWPFDocument doc = new XWPFDocument(stream); foreach (var para in doc.Paragraphs) { string v = para.ParagraphText; //获得文本 if (!string.IsNullOrEmpty(v)) text += v + Environment.NewLine; } 第二种:Microsoft.Office.Interop.W…
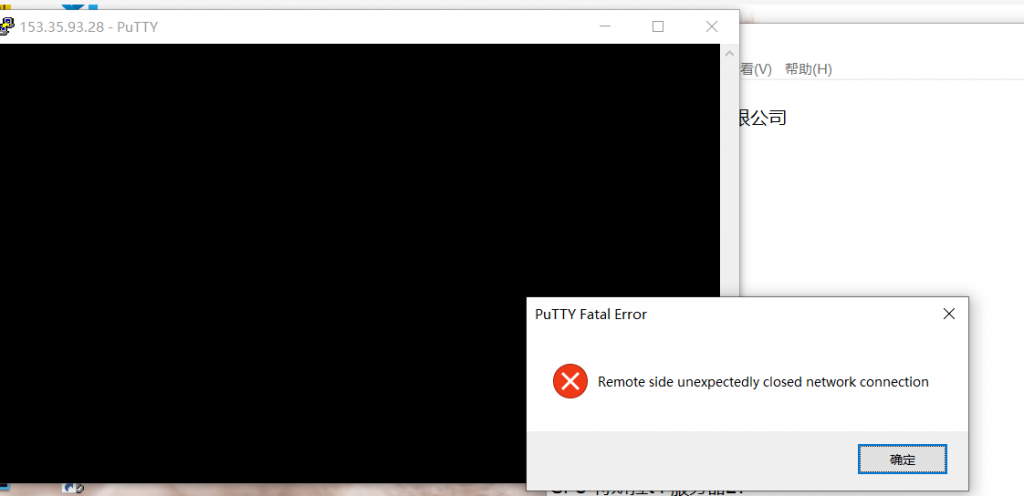
现象: 出现以下问题 Read from socket failed: Connectionreset by peer 起因; 导致了上面的结果 解决方法: 在重新连接就可以了。
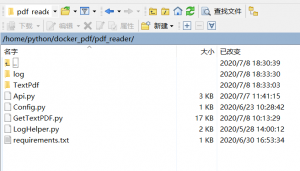
1.结构目录如下: 2.使用dockfile安装: FROM python:3.7.7 ADD ./pdf_reader /code # 设置code文件夹是工作目录 WORKDIR /code # 安装支持 RUN pip install -r requirements.txt CMD ["python3", "Api.py"] dockfile最好在linux系统上创建,防止编码问题 3.打包镜像 4.查看 所有镜像 5.导出镜像
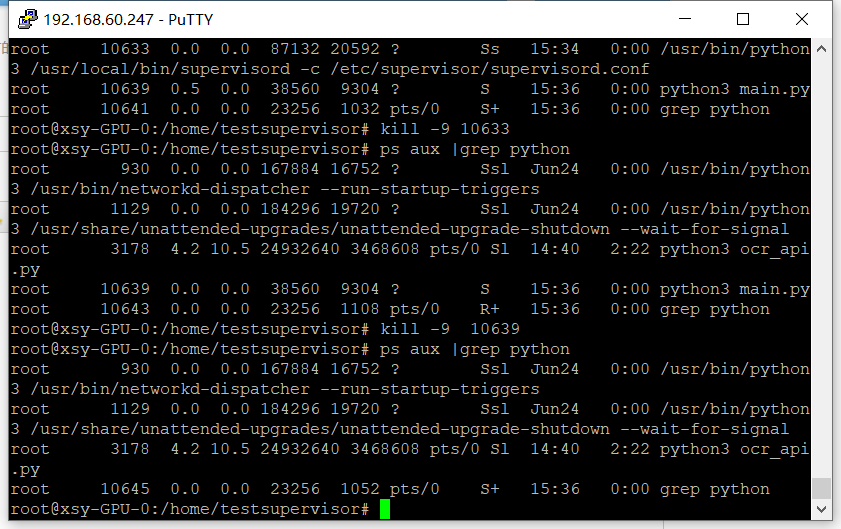
supervisor 使用教程 python守护进程 ======================================================= 1.安装 pip3 install supervisor -i https://pypi.tuna.tsinghua.edu.cn/simple 2.使用supervisor 启动 python main.py 文件 vim /etc/supervisor/conf.d/demo.conf 添加以下内容: =======================…
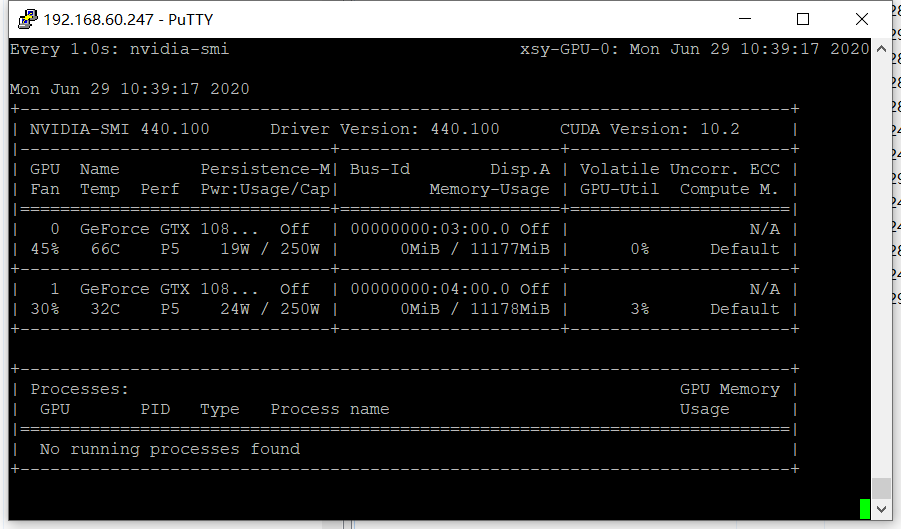
准备工作: GPU运算环境要求: 安装环境: 1.请先使用命令查看下驱动以及GPU的版本: 安装CUDA10.1需要更高版本的驱动,要求驱动版本表如下图: 2.驱动安装好以后,我们安装cuda10.1,如果可以访问官网下载最好,我这里因为访问不了官网,所以找了一个已经下好的cuda10.1版本的包 3.安装cudnn7.6.5,因为官网无法提供下载原因,找了一个版本,现在提供下载 安装cudnn 解压下载的文件,可以看到cuda文件夹,在当前目录打开终端,执行如下命令: 查看cudnn版…
import os import cv2 import requests import json import base64 import numpy as np from collections import OrderedDict from concurrent.futures import ThreadPoolExecutor # 进程池模块 import time def getByte(path): with open(path, 'rb') as f: img_byte = base64.b64enco…
using NAudio.Wave; using System; using System.Collections.Generic; using System.ComponentModel; using System.Data; using System.Drawing; using System.IO; using System.Linq; using System.Text; using System.Threading; using System.Windows.Forms; namespace Listen…
第一步:安装与测试登陆 1.安装命令 2.启动MariaDB 3.进行MariaDB的相关简单配置 第二步:配置MariaDB的字符集 1.修改/etc/my.cnf文件 2.修改/etc/my.cnf.d/client.cnf文件 3.修改/etc/my.cnf.d/mysql-clients.cnf文件 4.全部配置完成,重启MariaDB 第三步:进入MariaDB查看字符集 显示如下: [/success]
永久性设置,是在用户根目录(~,而非系统根目录 / )下添加配置~/.pip/pip.conf目录添加可信源,如果目录文件不存在,可直接创建。 写入如下内容 加上trusted-host防止pip报警。

